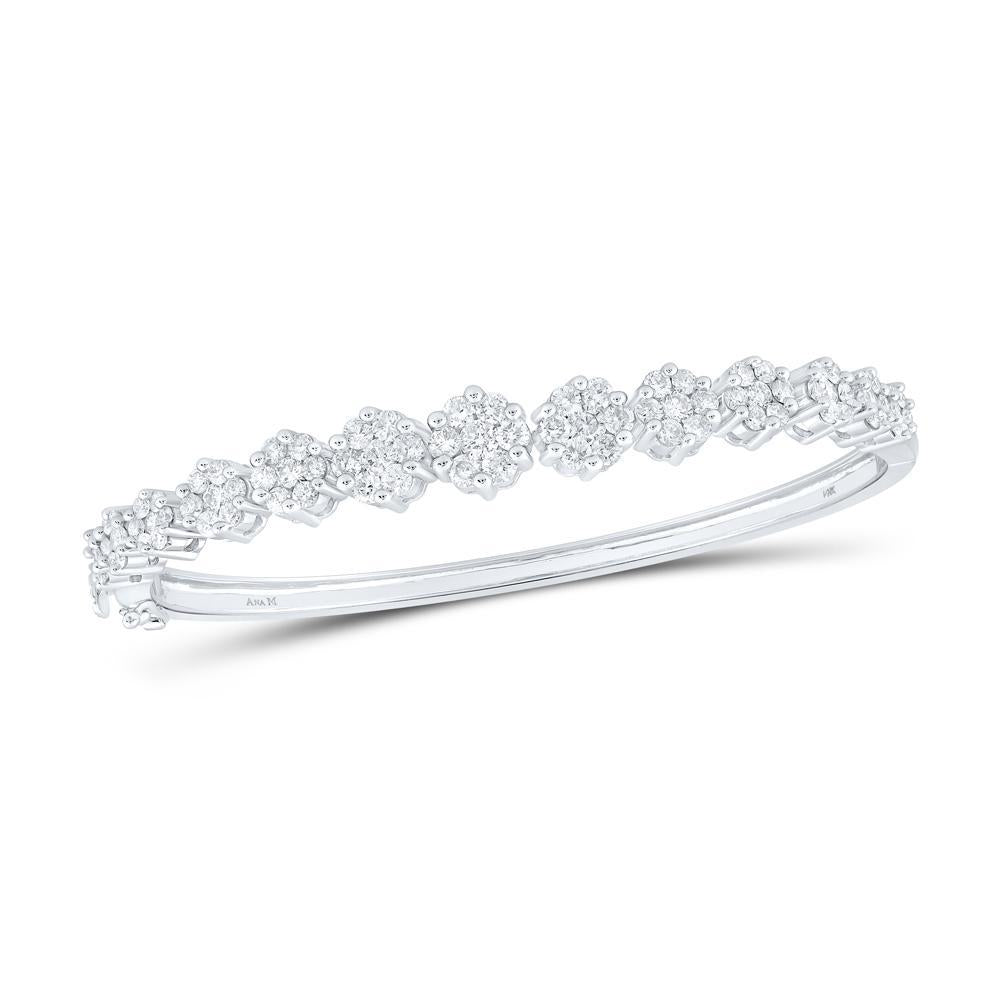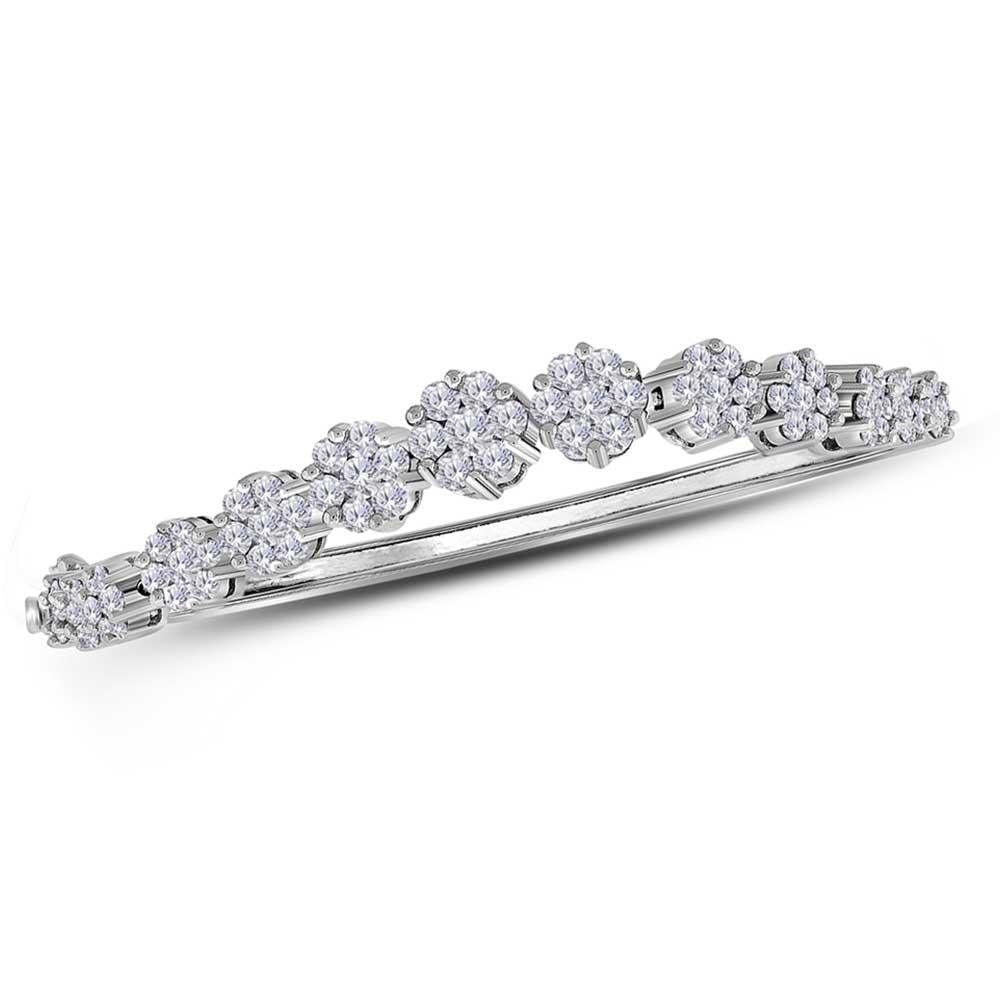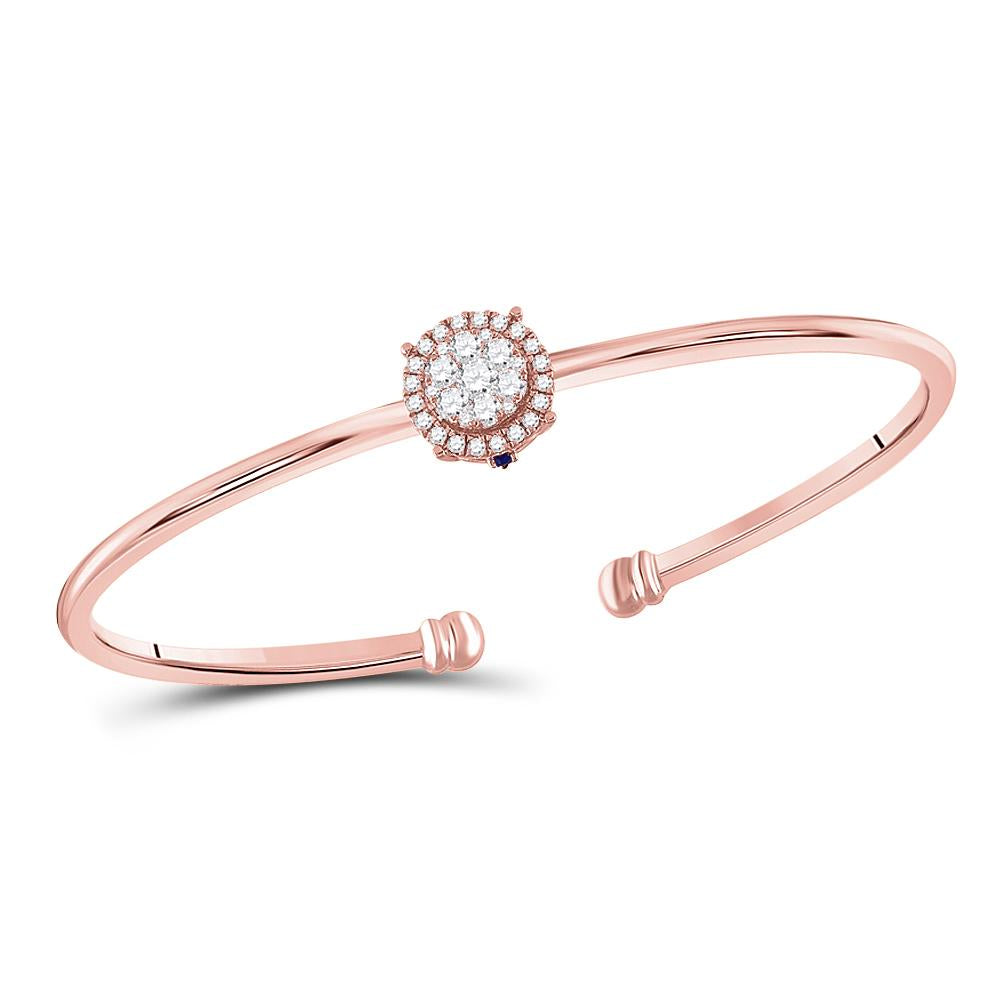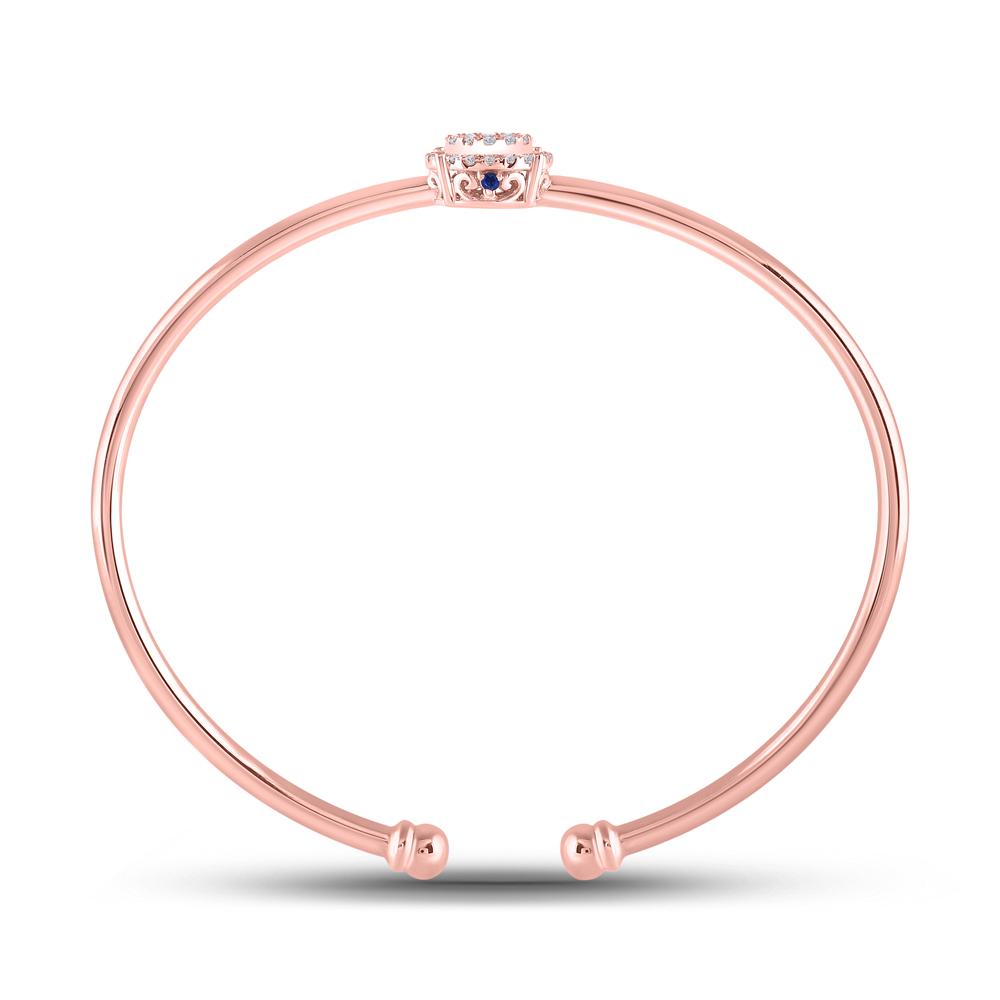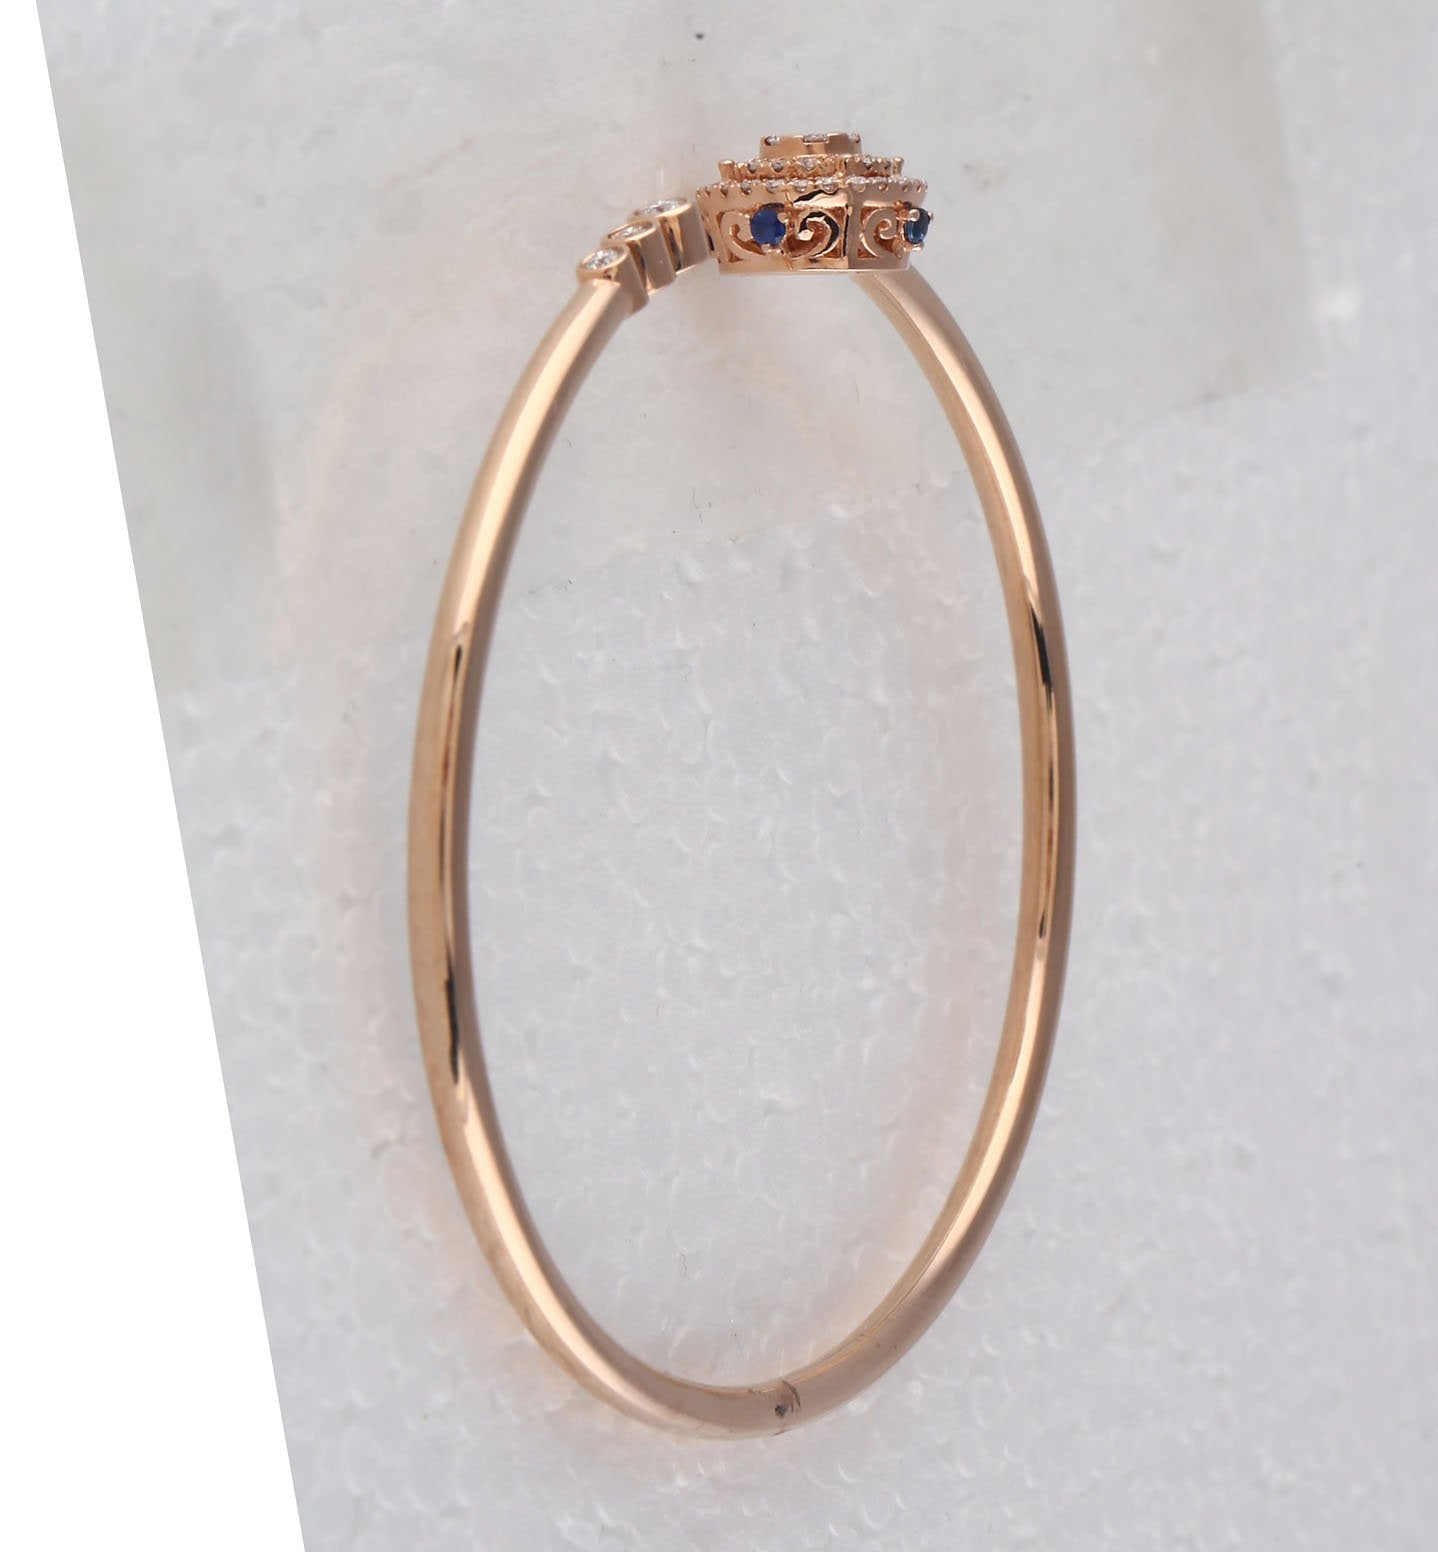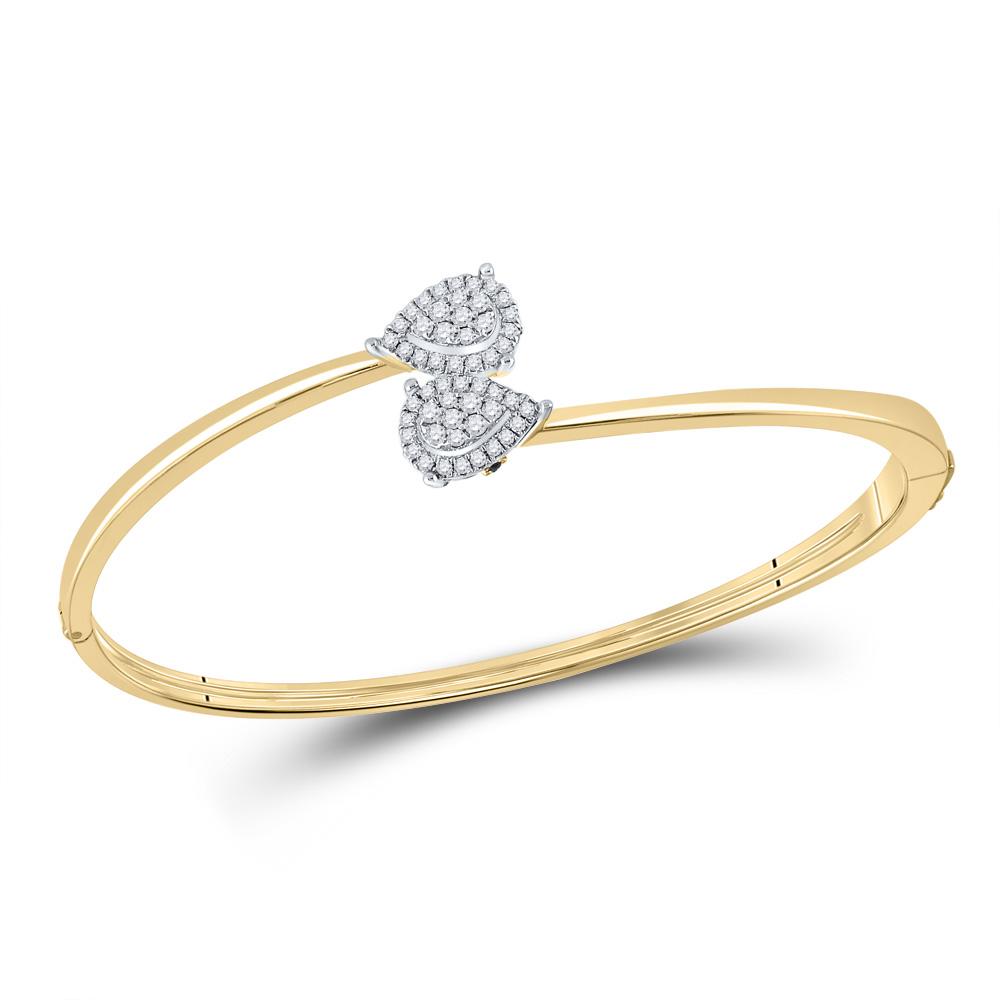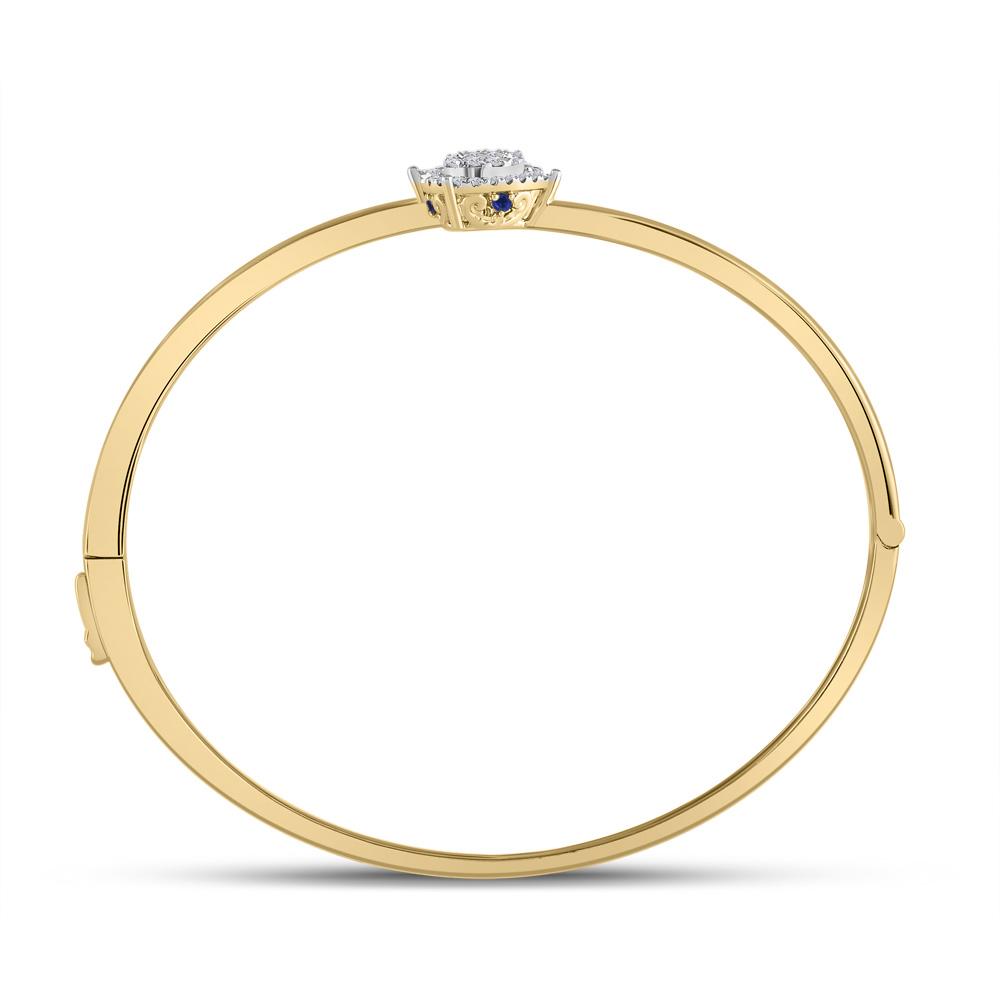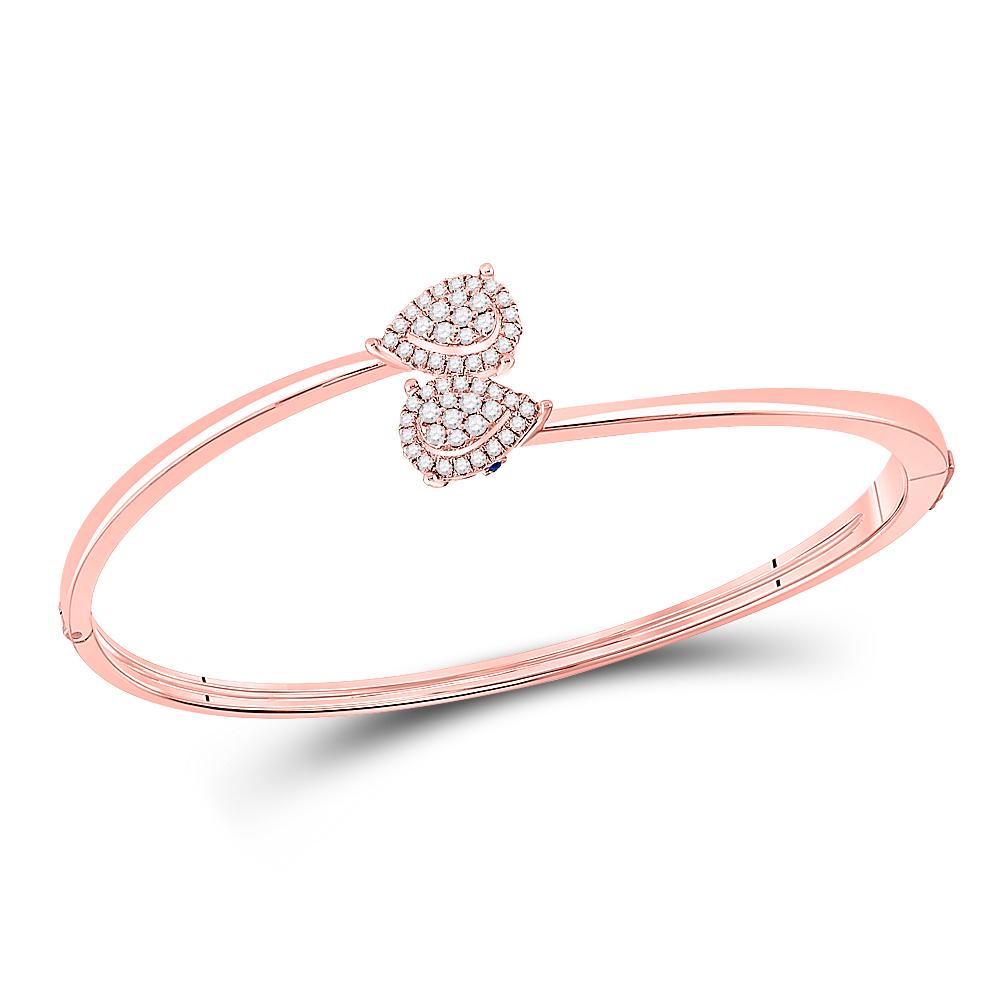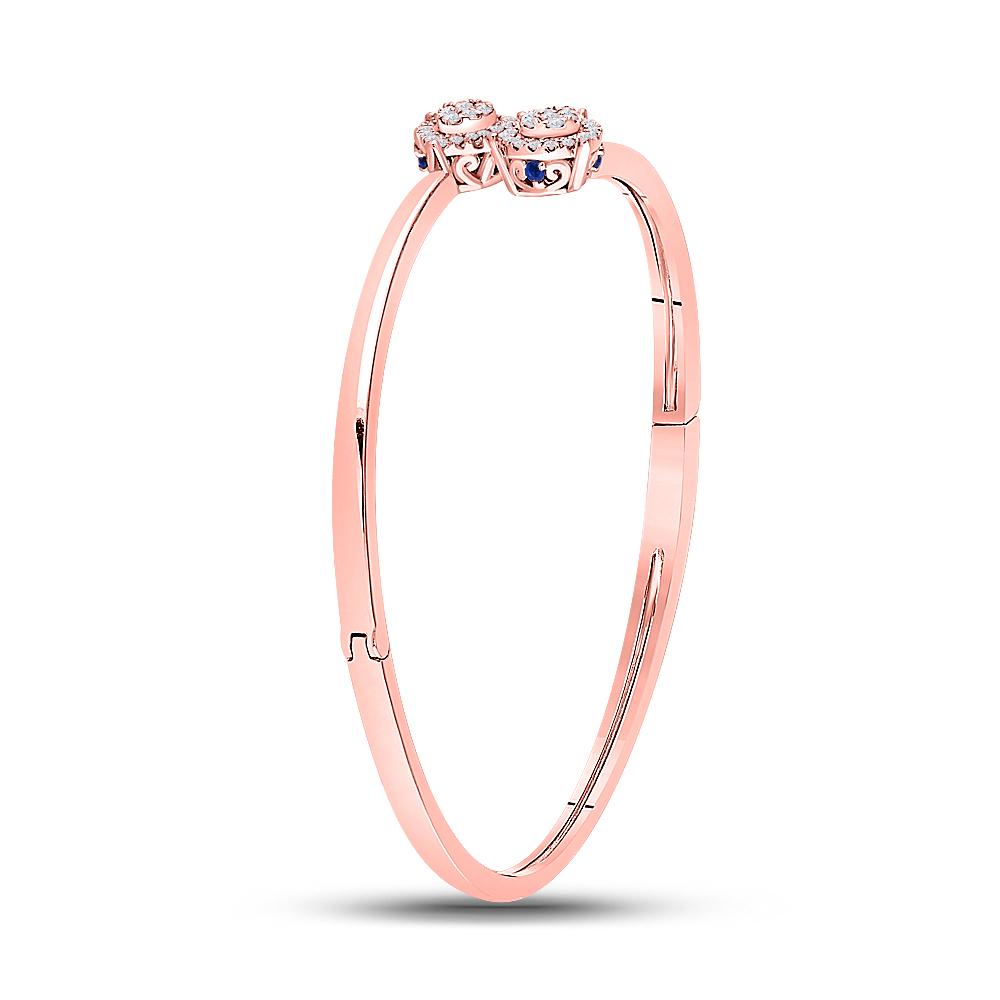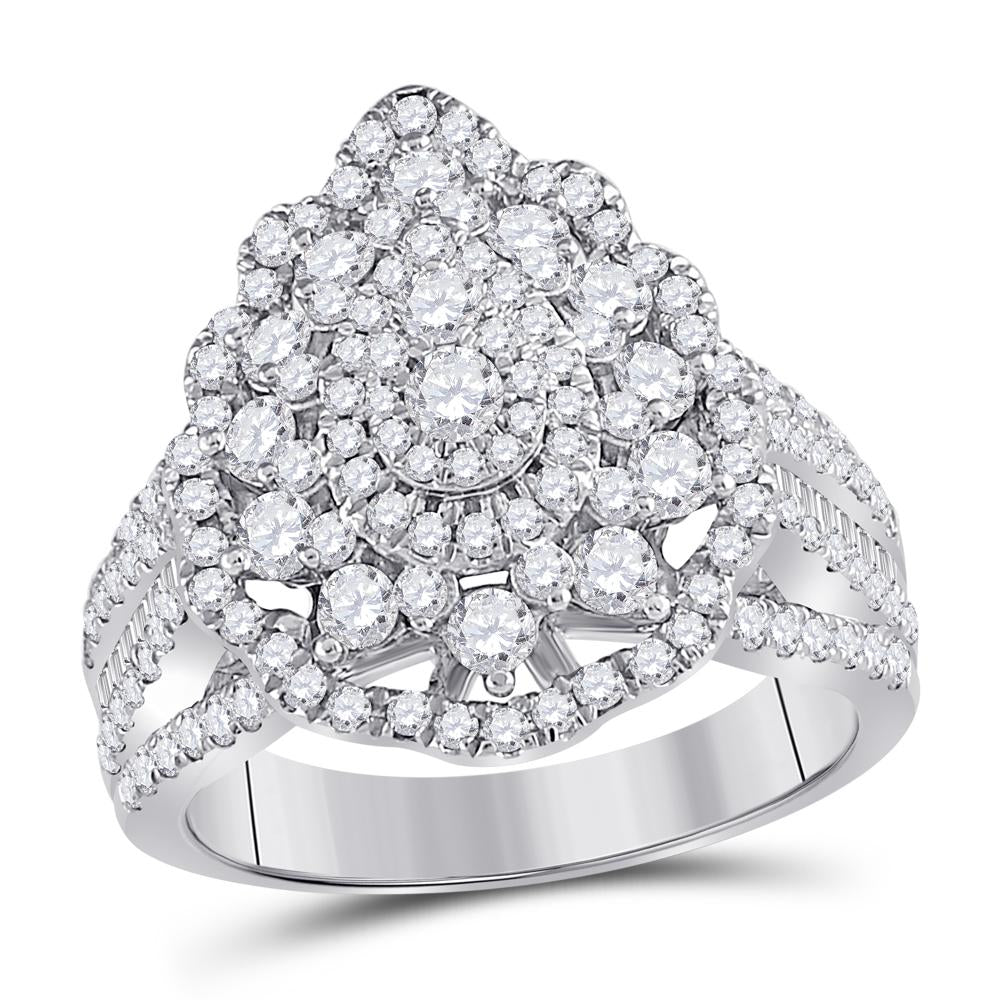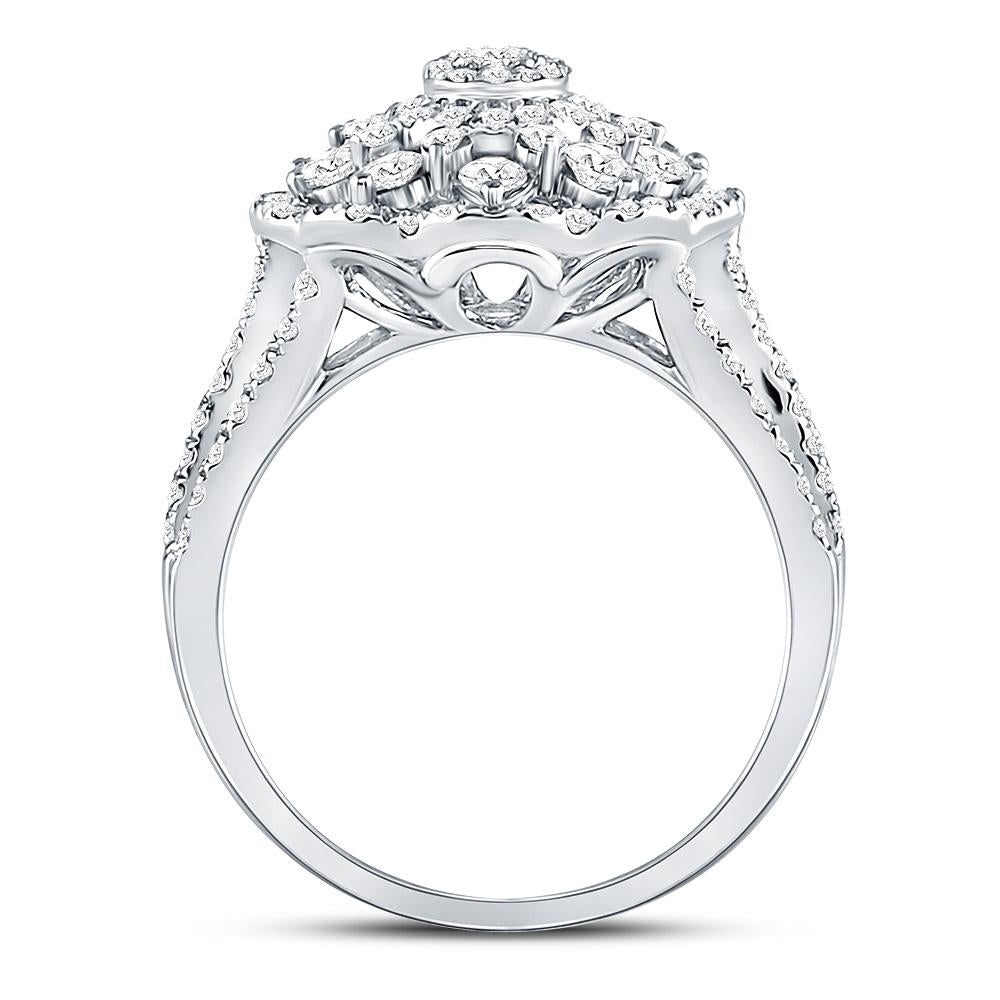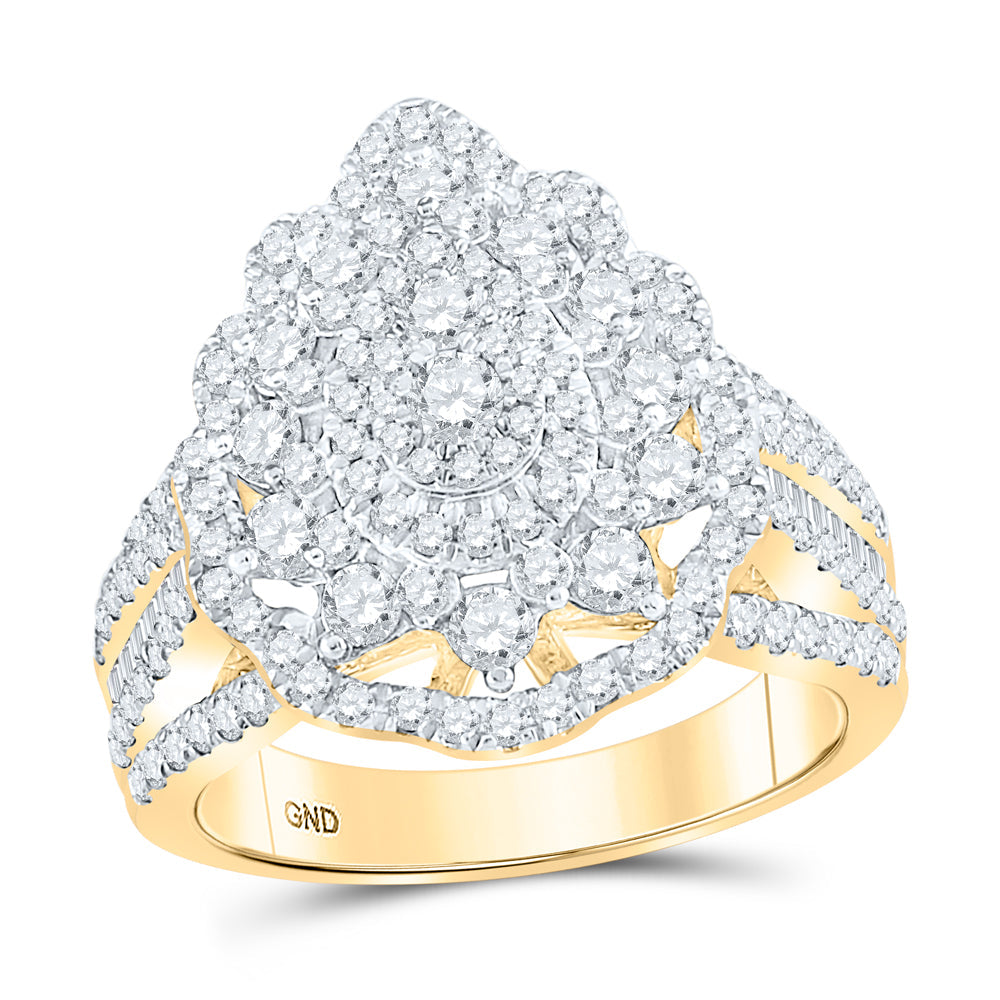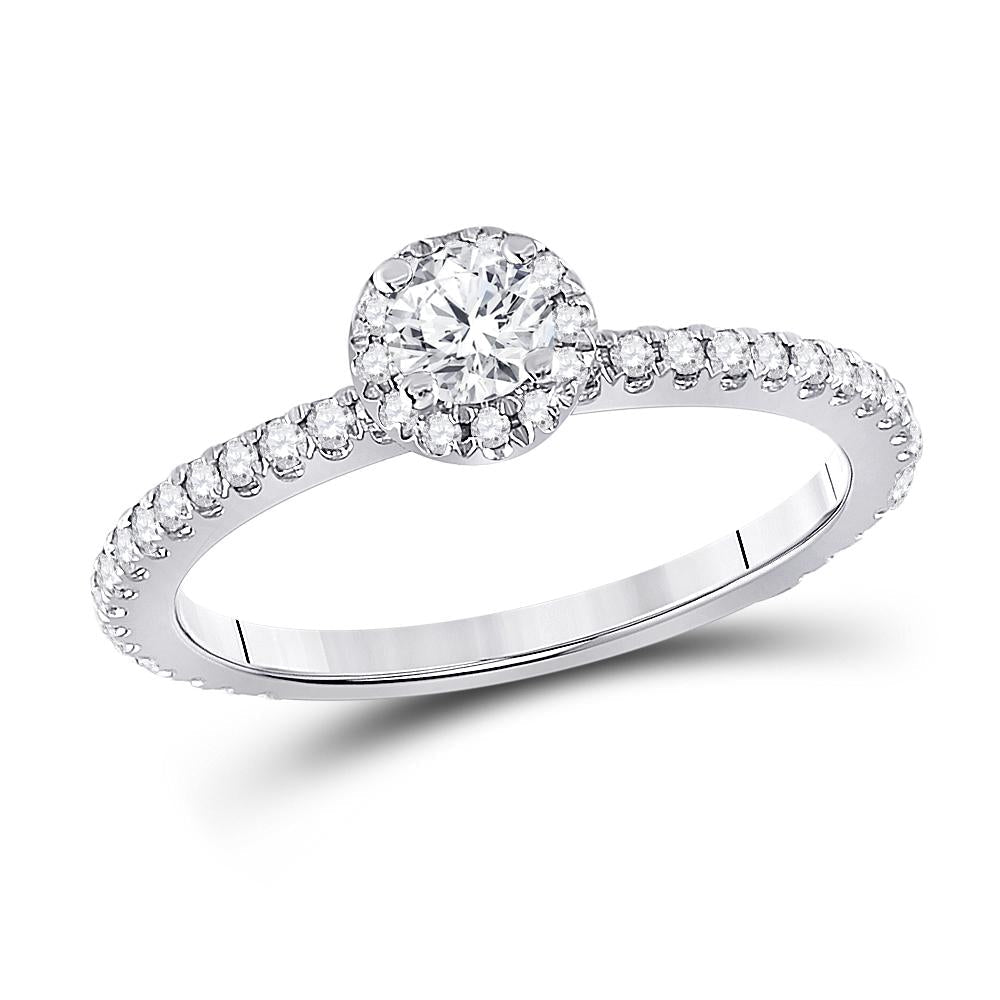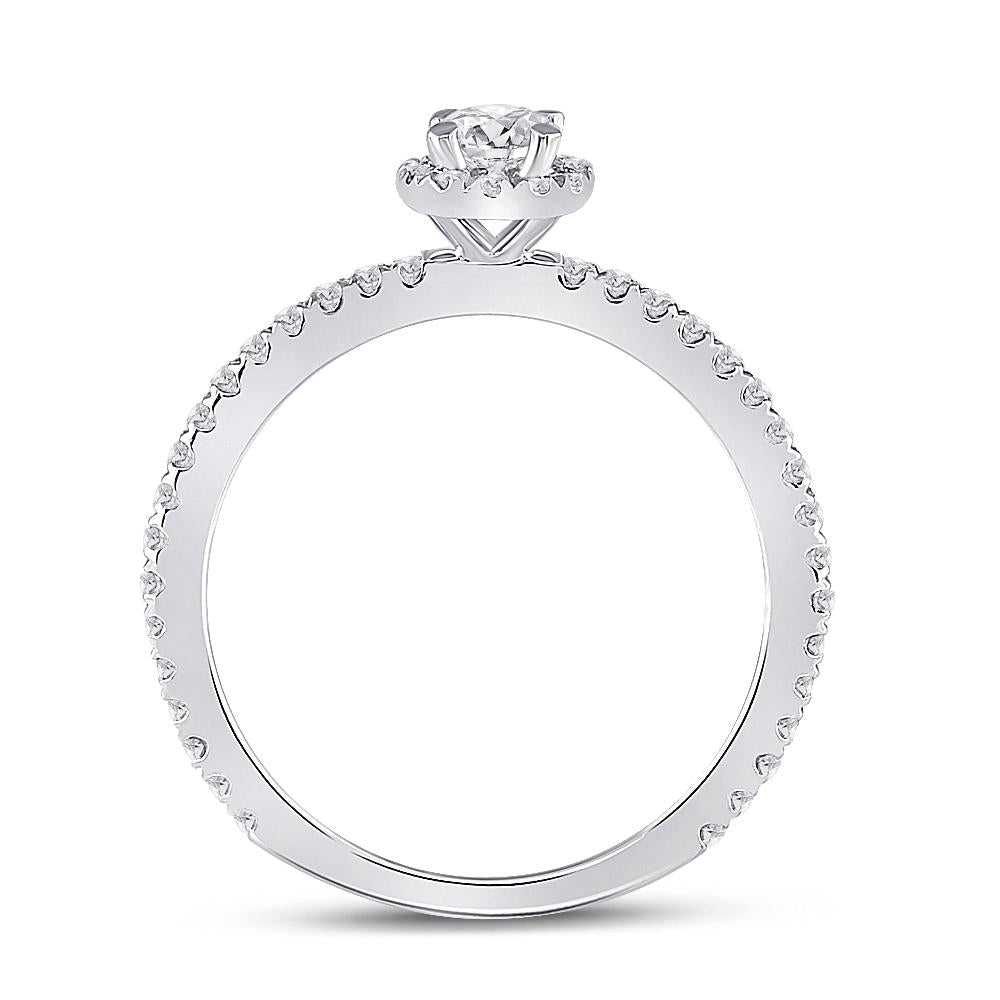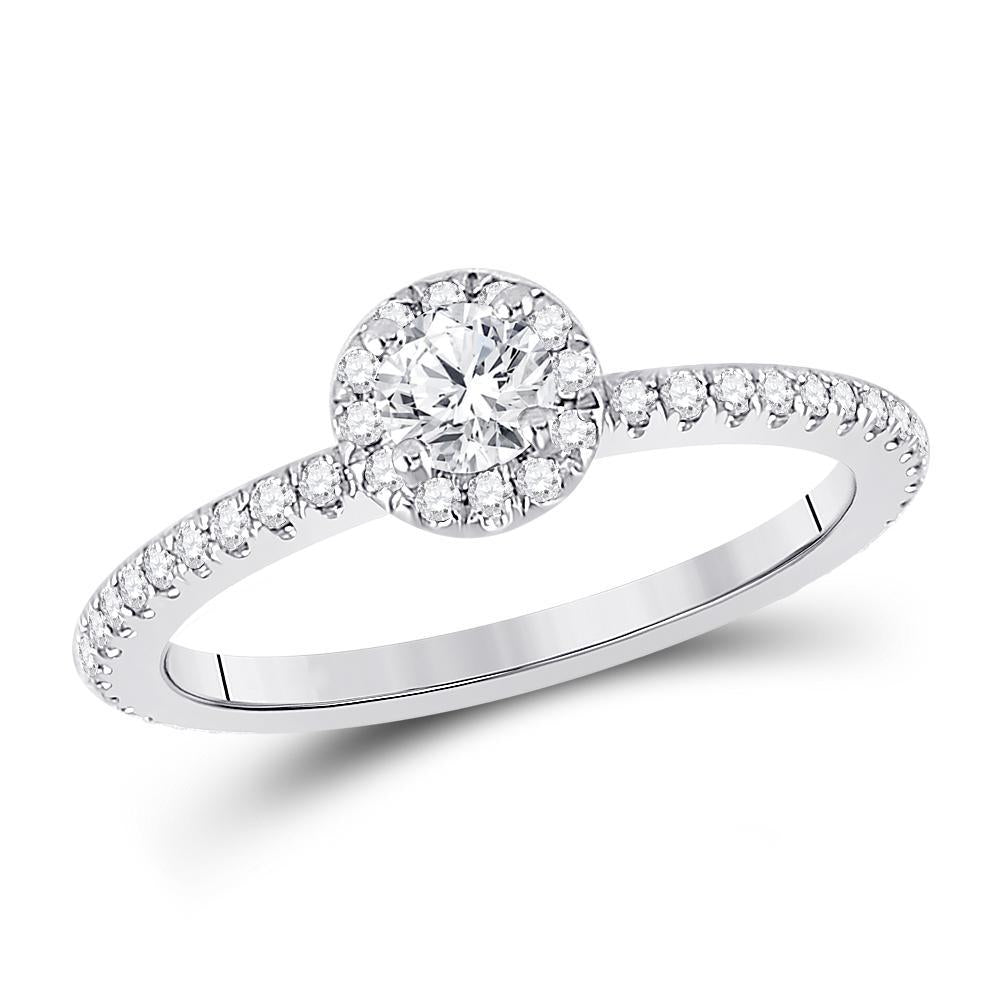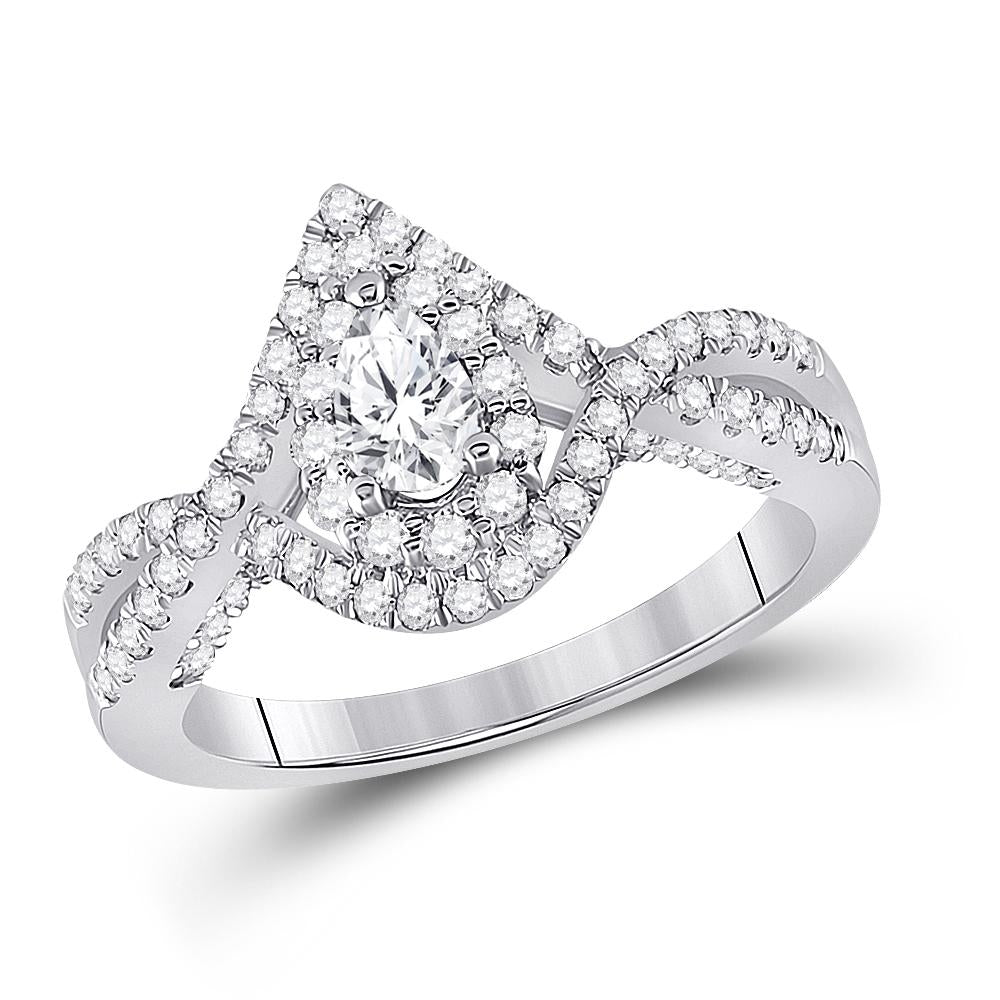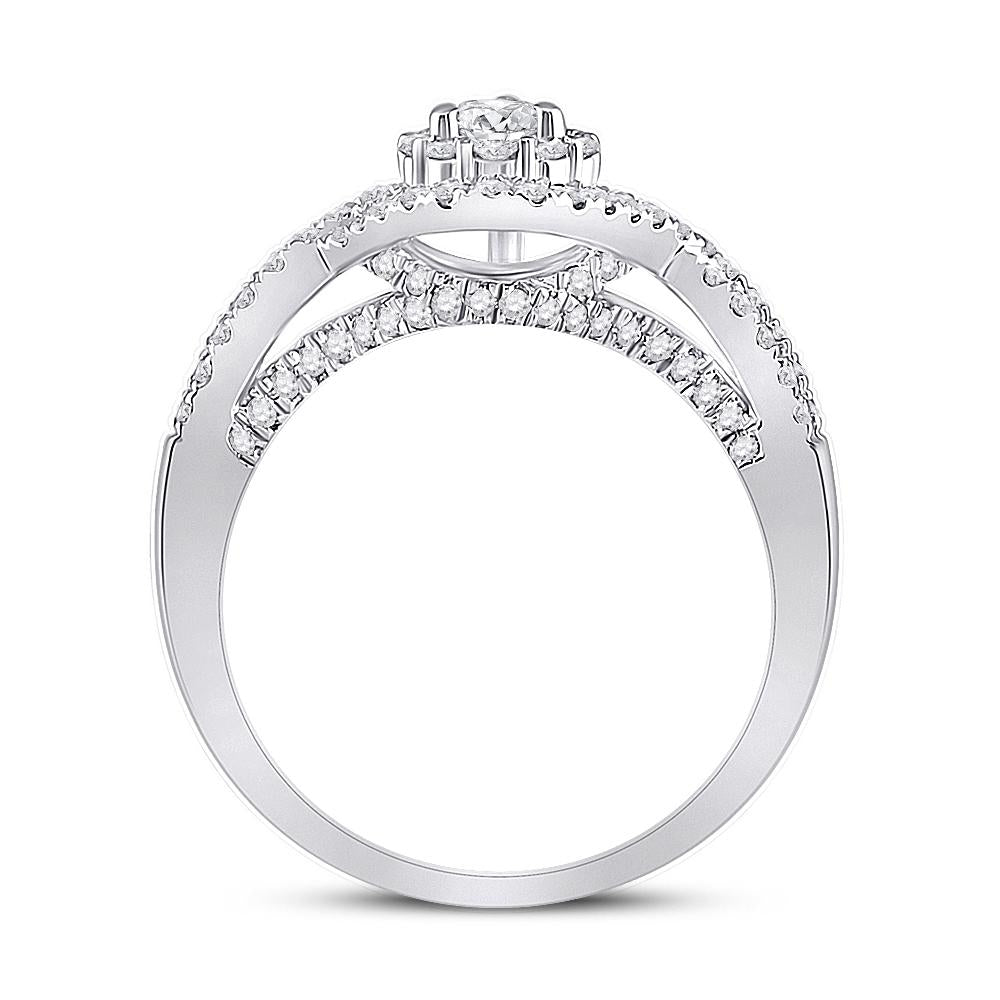


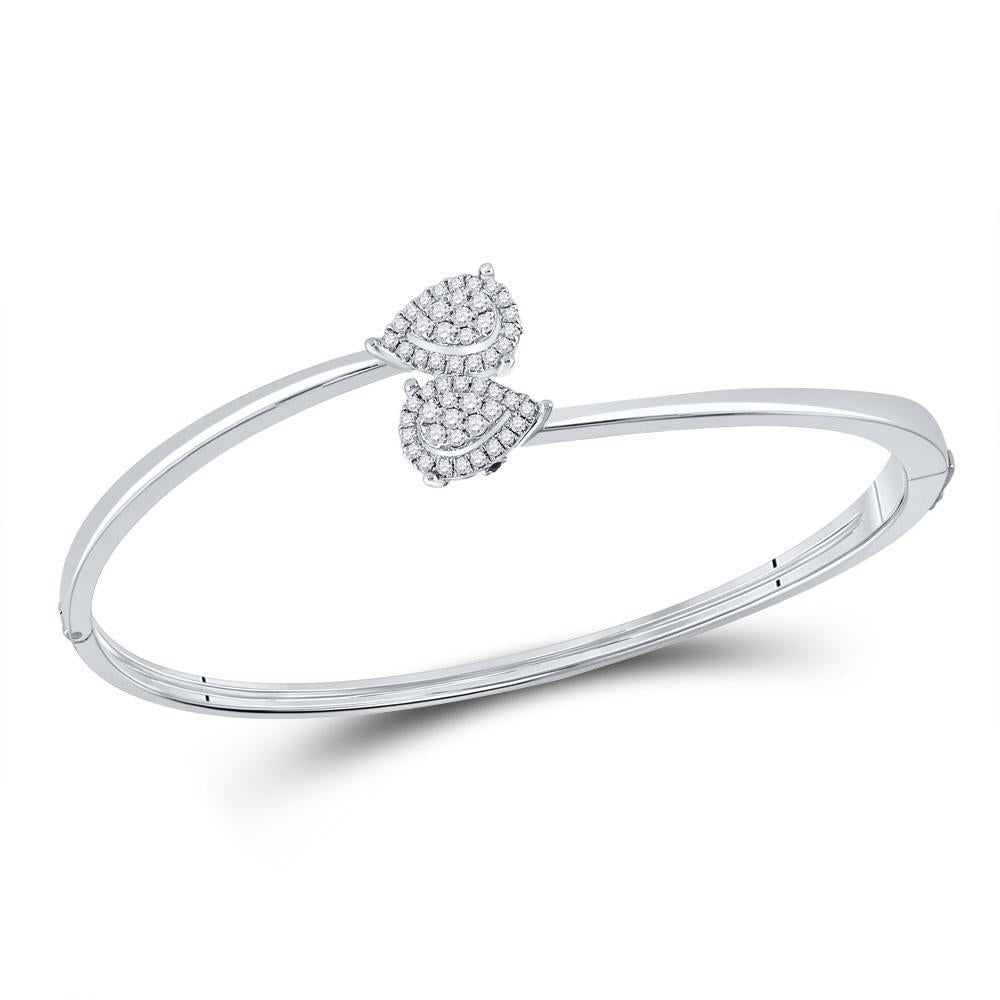
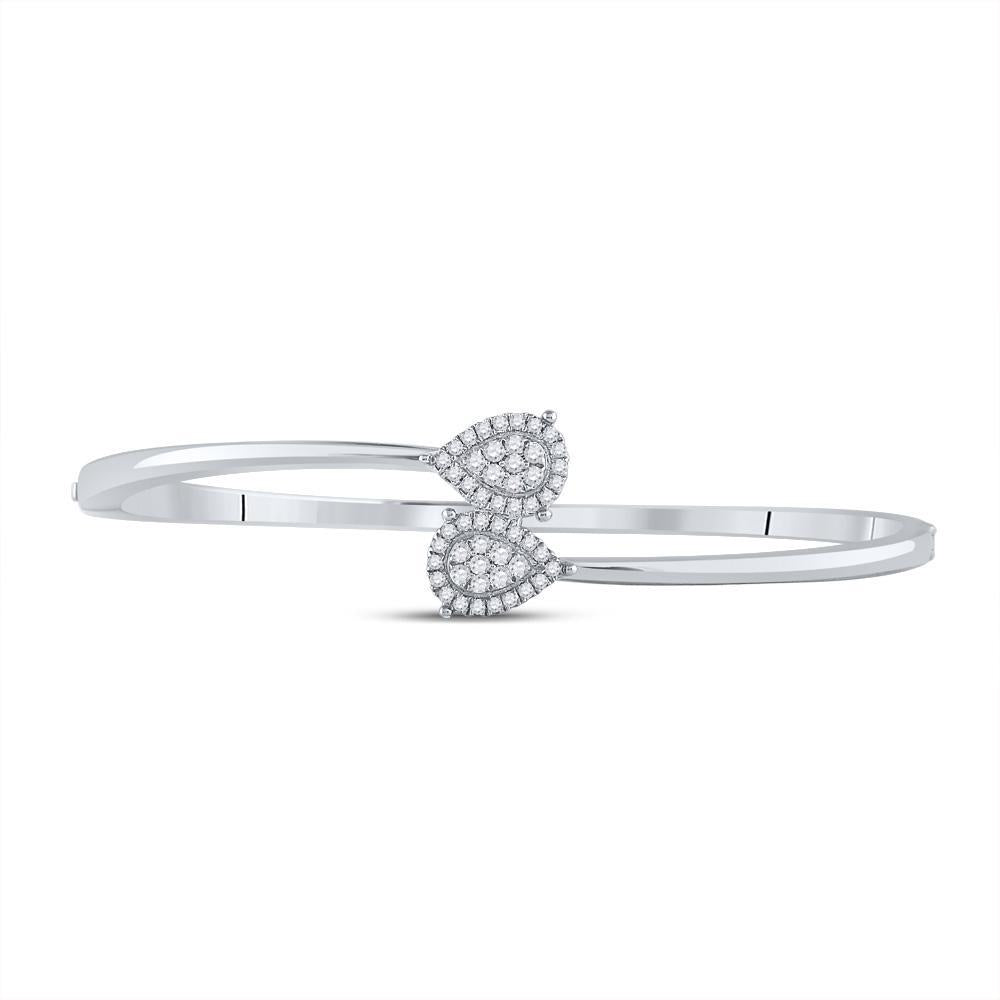
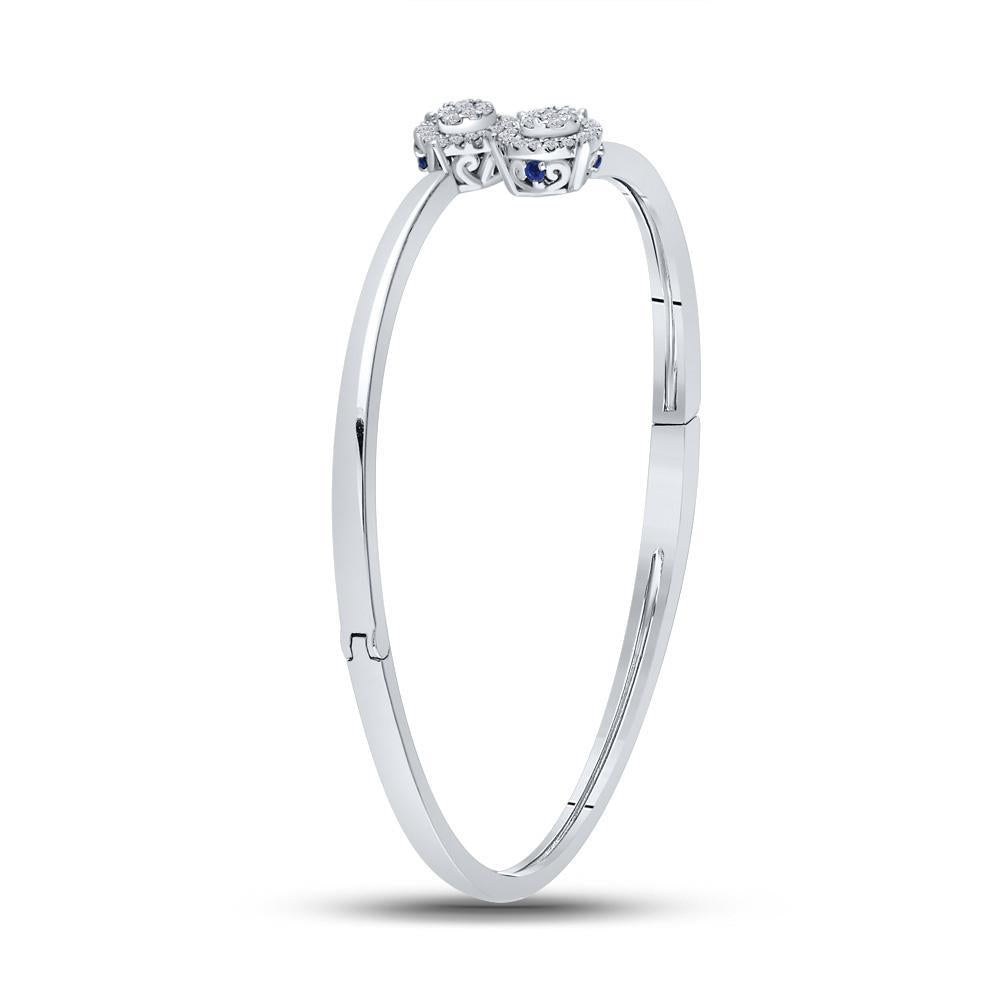
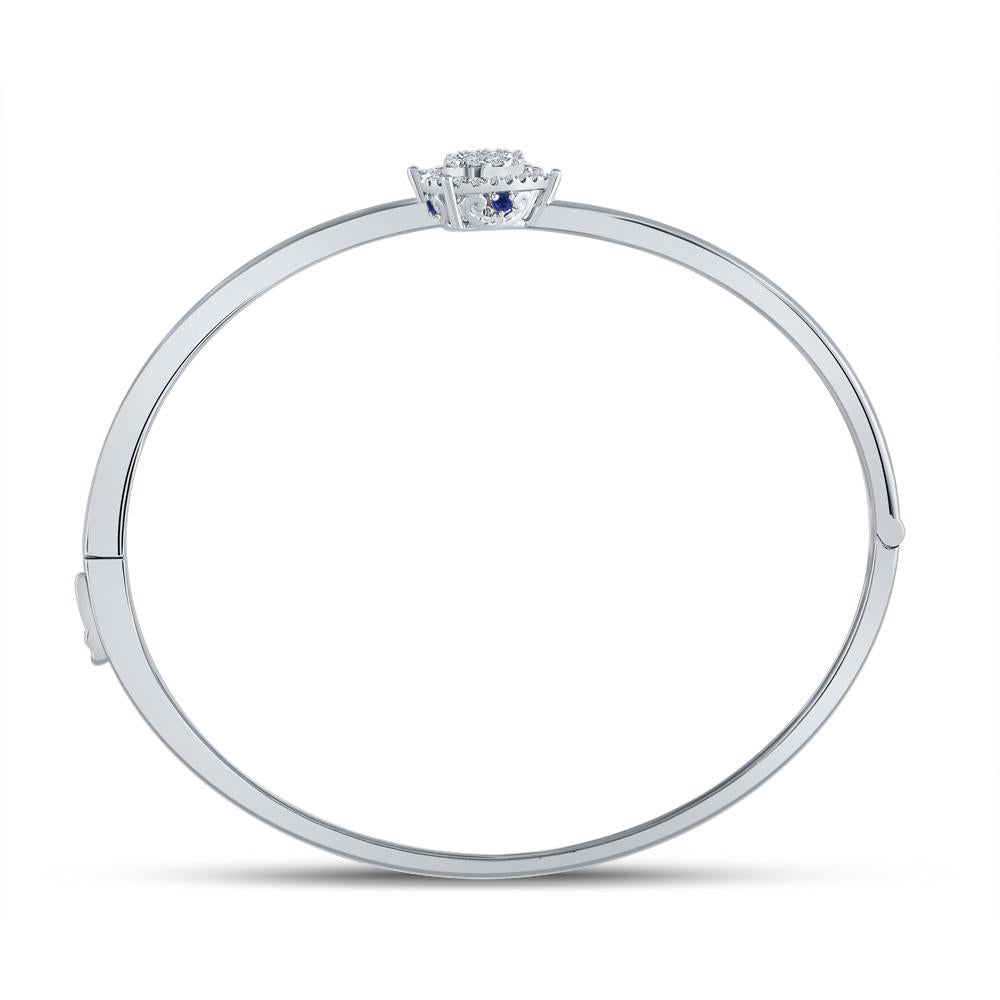
14kt White Gold Womens Round Diamond Bypass Cluster Pear Bracelet 1/2 Cttw
$2,998.80
Metal Type 14kt White Gold Gem 1 Type Diamond Gem 1 Caratweight 0.22 Gem 1 Clarity I1-I2 Gem 1 Color G-H Gem 1 Shape Round Gem 2 Type Diamond Gem 2 Caratweight 0.18 Gem 2 Clarity I1-I2 Gem 2 Color G-H Gem 2 Shape Round Gem 3 Type Natural Blue...